Over the past few weeks, I made a decision to move away early from Ethereum mining. Not the easiest decision given ETH’s mining difficulty hasn’t been this low since late last year but, it’s a really hot summer here in the UK and frankly, I’m fed up with trying to keep things cool.
Energy: no problem (we’re running on Solar and renewable grid energy at a reduced tariff overnight). Heat: a problem when you’re running ETHash!
This is how and why I first discovered ERGO.
Table of contents
What is ERGO?
Ergo (ERG) employs a proof of work consensus approach to secure its network (so it’s mineable!). However, unlike Ethereum, Ergo is simultaneously a programmable blockchain capable of deploying smart contracts. Its goal is to solve a lot of the problems associated with Ethereum and Bitcoin, namely higher energy costs, transaction speed, and gas fee free programmability.
AutoLykos2 runs more efficiently, uses less power, requires less VRAM, and critically runs cooler.
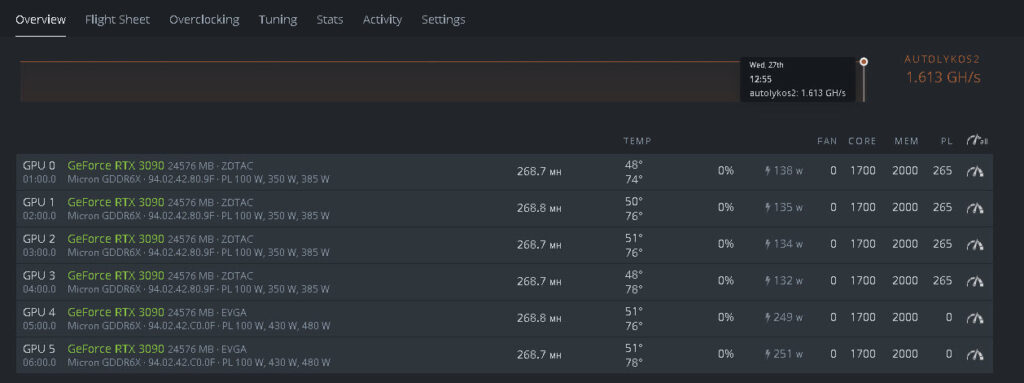
My rigs run a good 20c cooler with Autolykos2 mining ERGO. This fact alone really takes the pressure off my own time, and it takes the pressure off my hardware.
But hardware is not the only reason I really like ERGO. It already has a thriving dApp and NFT ecosystem, powering anetaBTC, a decentralized, secure protocol that allows users to unlock the value of their Bitcoin on Ergo and Cardano.
It features decentralized exchanges such as ERGOdex, a Cryptocurrency point of sale (POS) app called ERGOpos, and lots more exciting projects. There’s also a very helpful community group and folks on Twitter such as @SigmaNaut who without his videos and help online I’d be a little stuck by now!
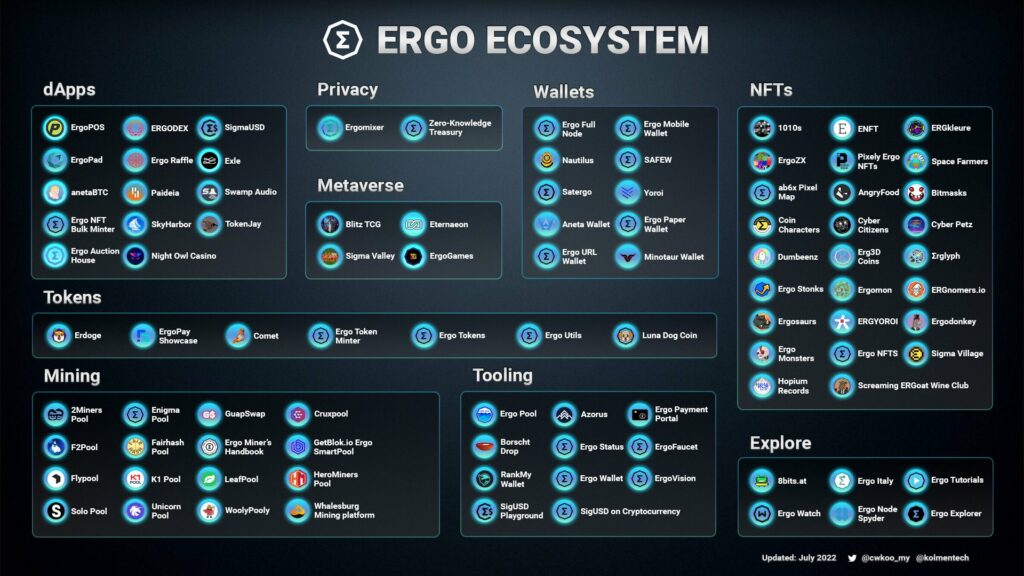
ERGO also powers an NFT Auction House. It costs only 0.1 ERG to mint an NFT and there is a near-zero cost for transactions. NFT’s on Ergo are secure and sustainable with IPFS decentralized storage.

In terms of its future, ERGO has a bright one ahead of it. Mentioned as Nasdaq’s “top 5 cryptocurrencies” you’ve never heard of, it’s a programmable blockchain that delivers features for developers.
How to Mine Ergo
You can mine ERGO with any mining app that supports AutoLykos2.
I’m very comfortable mining with T-Rex on both my remaining Windows machines and my
As a GPU miner, now feels like a really good time to get a jump start on the inevitable hashrate migration to alternative Cryptocurrencies when Etherium finally moves to a Proof of Stake (POS) consensus model.
Check out ERGO’s own documentation on ERGO mining here.
Ergo wallet address
The most important step is right at the start: getting a wallet address! There are several popular ERGO wallets such as Yoroi, Nautilus, and ERGO’s official wallet app. I use the official app. Ledger support isn’t available, but it is being worked on right now.
The wallet generates your address and provides you with the recovery seed phraes. Back up your seed phrases! In the Android app you can use your biometrics as a password with the fingerprint reader. I’ve tested recovering a wallet using the seed phrases – it’s all straightforward and unintimidating.
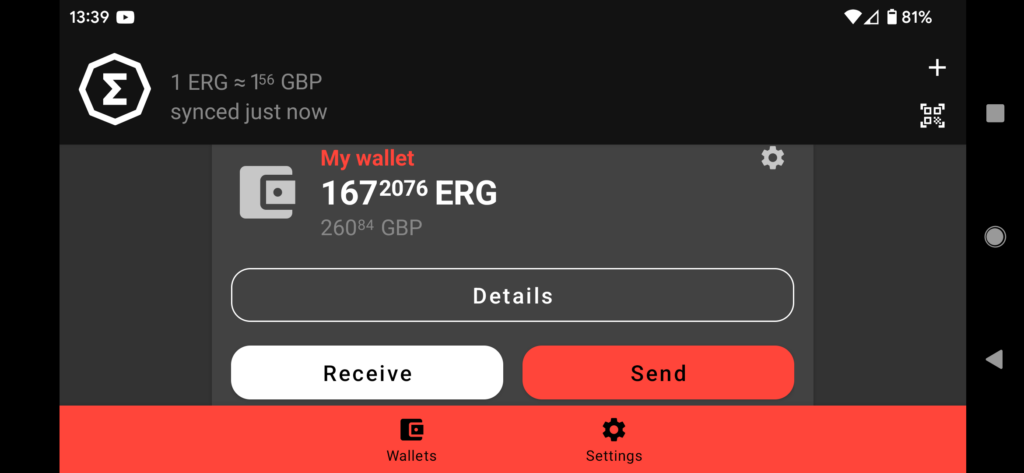
Once you have your wallet address, it’s time to choose a pool.
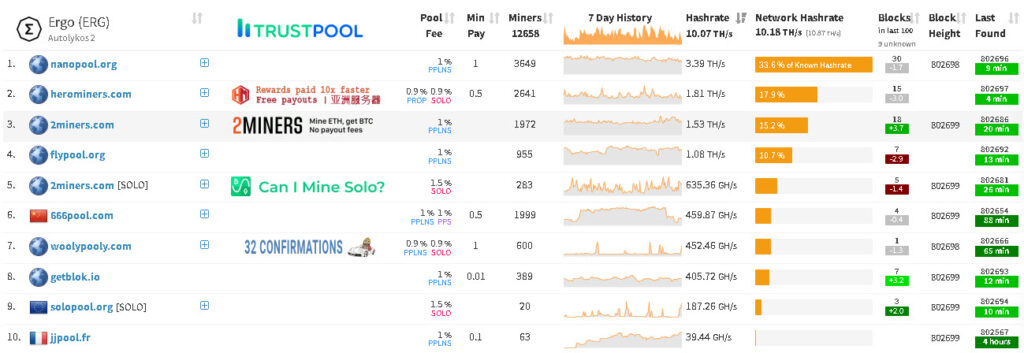
When you’re choosing a pool, always bear in mind the possibility of a 51% attack should everyone just flock to the biggest pool. While the bigger pools appear to be mining more blocks, they’re sharing the rewards amongst a larger pool of miners.
Mining ERGO with HiveOS
Assuming you’re familiar with
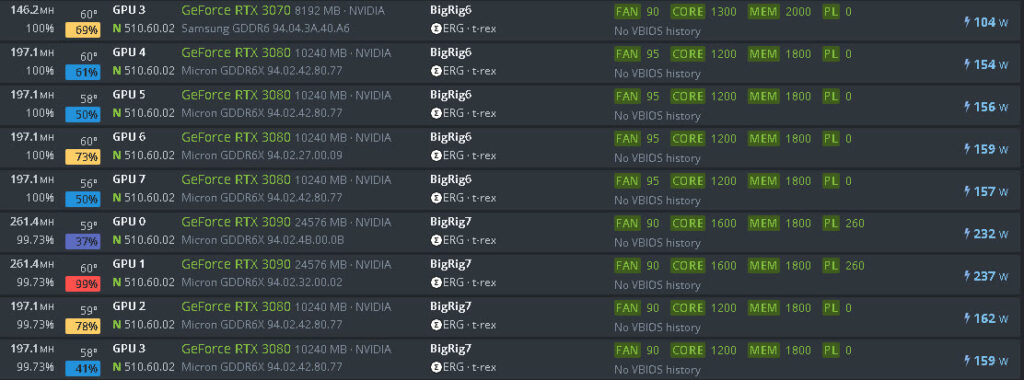
If you’re mining in Windows with T-Rex, your .bat file might look a little like this:

You can also sell your AutoLykos hashing power at Nicehash using your BTC address to get paid in BTC – either directly to their Autolykos stratum (use the generator here) or in NH Miner. Accumulating BTC is the goal for some miners which I totally get – but I have an interest in building a more exciting and broader portfolio.
Building an ERGO Node
As a hobbyist, I like to embrace a network as I learn more about it. You don’t have to build or own an ERGO node, but doing so improves the really important stuff: decentralization and democratizing participation in the Ergo network and community. The more of you good people decide to run a node = more of the good stuff!
Everything I learned, I learned by following this guide from @SigmaNaut. I had a few questions and he was more than happy to help:
I happened to have a
As far as I can recall the board was something like £40 to purchase, I found the correct CPU on eBay (and it worked!). I had plenty of spare DDR4 ram sticks kicking around and I found an
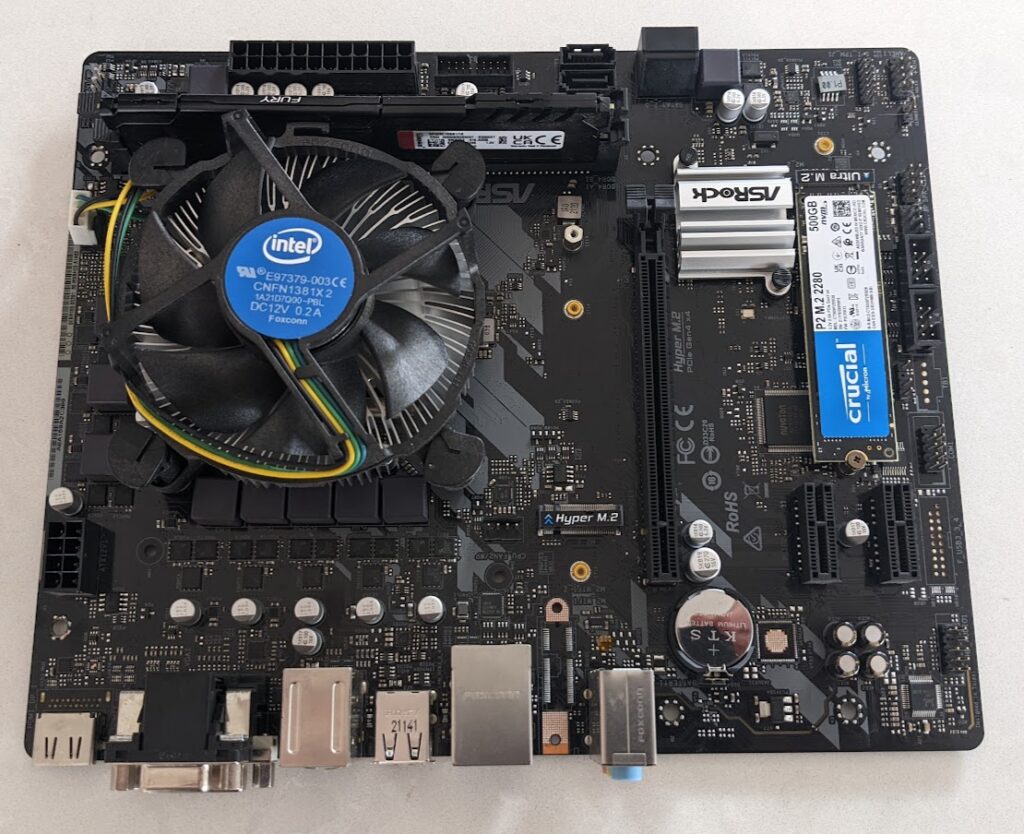
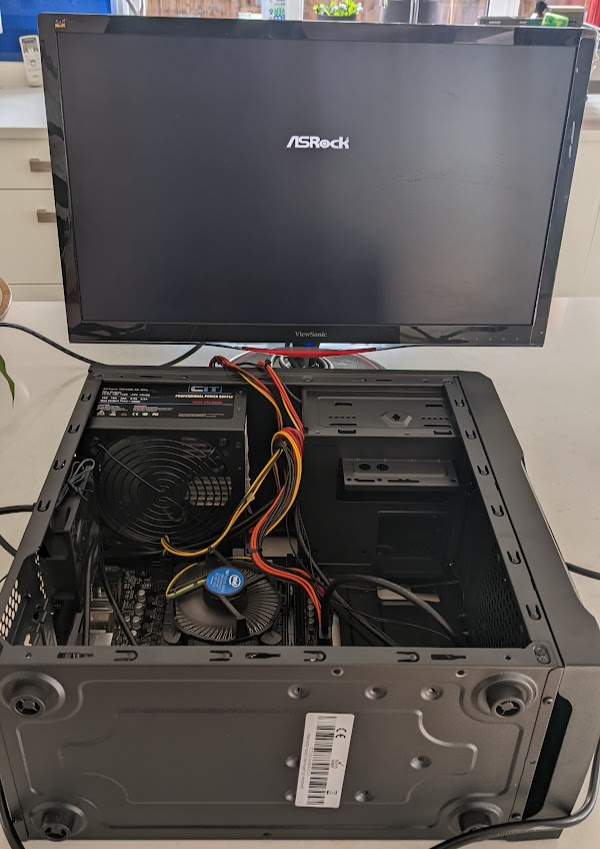
Installing the board into the case was quick and easy and with quite a short space of time I had a fully working PC ready to set up my node.
Here’s the step-by-step to installing an ERGO node once you’ve got a running Windows machine
- Download and install the Java™ Platform, Standard Edition Development Kit (JDK™) for Windows
- Download the Ergo Protocol Reference Client (currently v4.0.35 release)
- Create an ergo.conf file in the ERGO node folder
- Edit the .conf file and add the following text:
- Open Powershell from new folder and execute the command to run the node
- Secure the API
- Restart the node in Powershell
- Open the ERGO node interface cpanel and create a wallet address

Save the ergo-4.0.35.jar file to a new folder on in your root directory. Something like my_ergo_node is fine:

With a right click, create a new txt file, and call it Ergo.conf.
By default in Windows, file extensions are hidden and we need to name the file correctly. The chances are Windows has kept the .txt file extension. This is easily removed with rename as soon as you’ve selected the “File name extensions” checkbox in the “View” top menu:


Save and close the file.

Type “powershell” in the Explorer bar. A big blue Window will open.
Copy and paste this command, being sure to add the version number of the jar file:
java -jar -Xmx4G ergo-4.0.35.jar --mainnet -c ergo.confI’ve highlighted the section with the current version number. This will likely change so double check. You can also copy / paste this command from the official docs: https://docs.ergoplatform.com/node/install/

Press enter and the node should begin initializing:

Next, you’ll need to secure the API by creating a hash of your node’s password. Do this by opening: http://127.0.0.1:9053/swagger#/utils/hashBlake2b


Make a note of this password! Scroll down and click “Execute”. Swagger will encode that password for you.

Copy that hash, then head back to the Ergo Node install docs and paste this text into your ergo.conf file:


Save, and close Ergo.conf
To restart the node, simply close the Powershell window, open a new PowerShell window and re-enter the node start command.
Pro tip: using the up cursor key will bring back the last command you typed.
ERGOs node interface can be found at: http://127.0.0.1:9053/panel/

For simplicity, I just created a new wallet separate to my main ERGO wallet – I’m not planning to store ERGO on this node so a blank wallet address will do fine.
Just click “Wallet” in the left-hand nav of the panel page. To continue you must “set API key” which is the unencrypted version of whatever you used when you secured your node:

From here, you can create a new wallet simply by putting a password in this field:

Clicking send will generate a new wallet address and seed phrases – back up your seed phrases!

Click close, and you’re done. The Node will sit and synchronize for a few hours depending on your machine. Mine took 5 or 6 hours:

And there you go. Congratulations, you’re an ERGO miner and Node owner – supporting the network and having fun without all the big temps and inefficient ETHash mining! Enjoy!
